The Queen of Sheba is coming!

Material
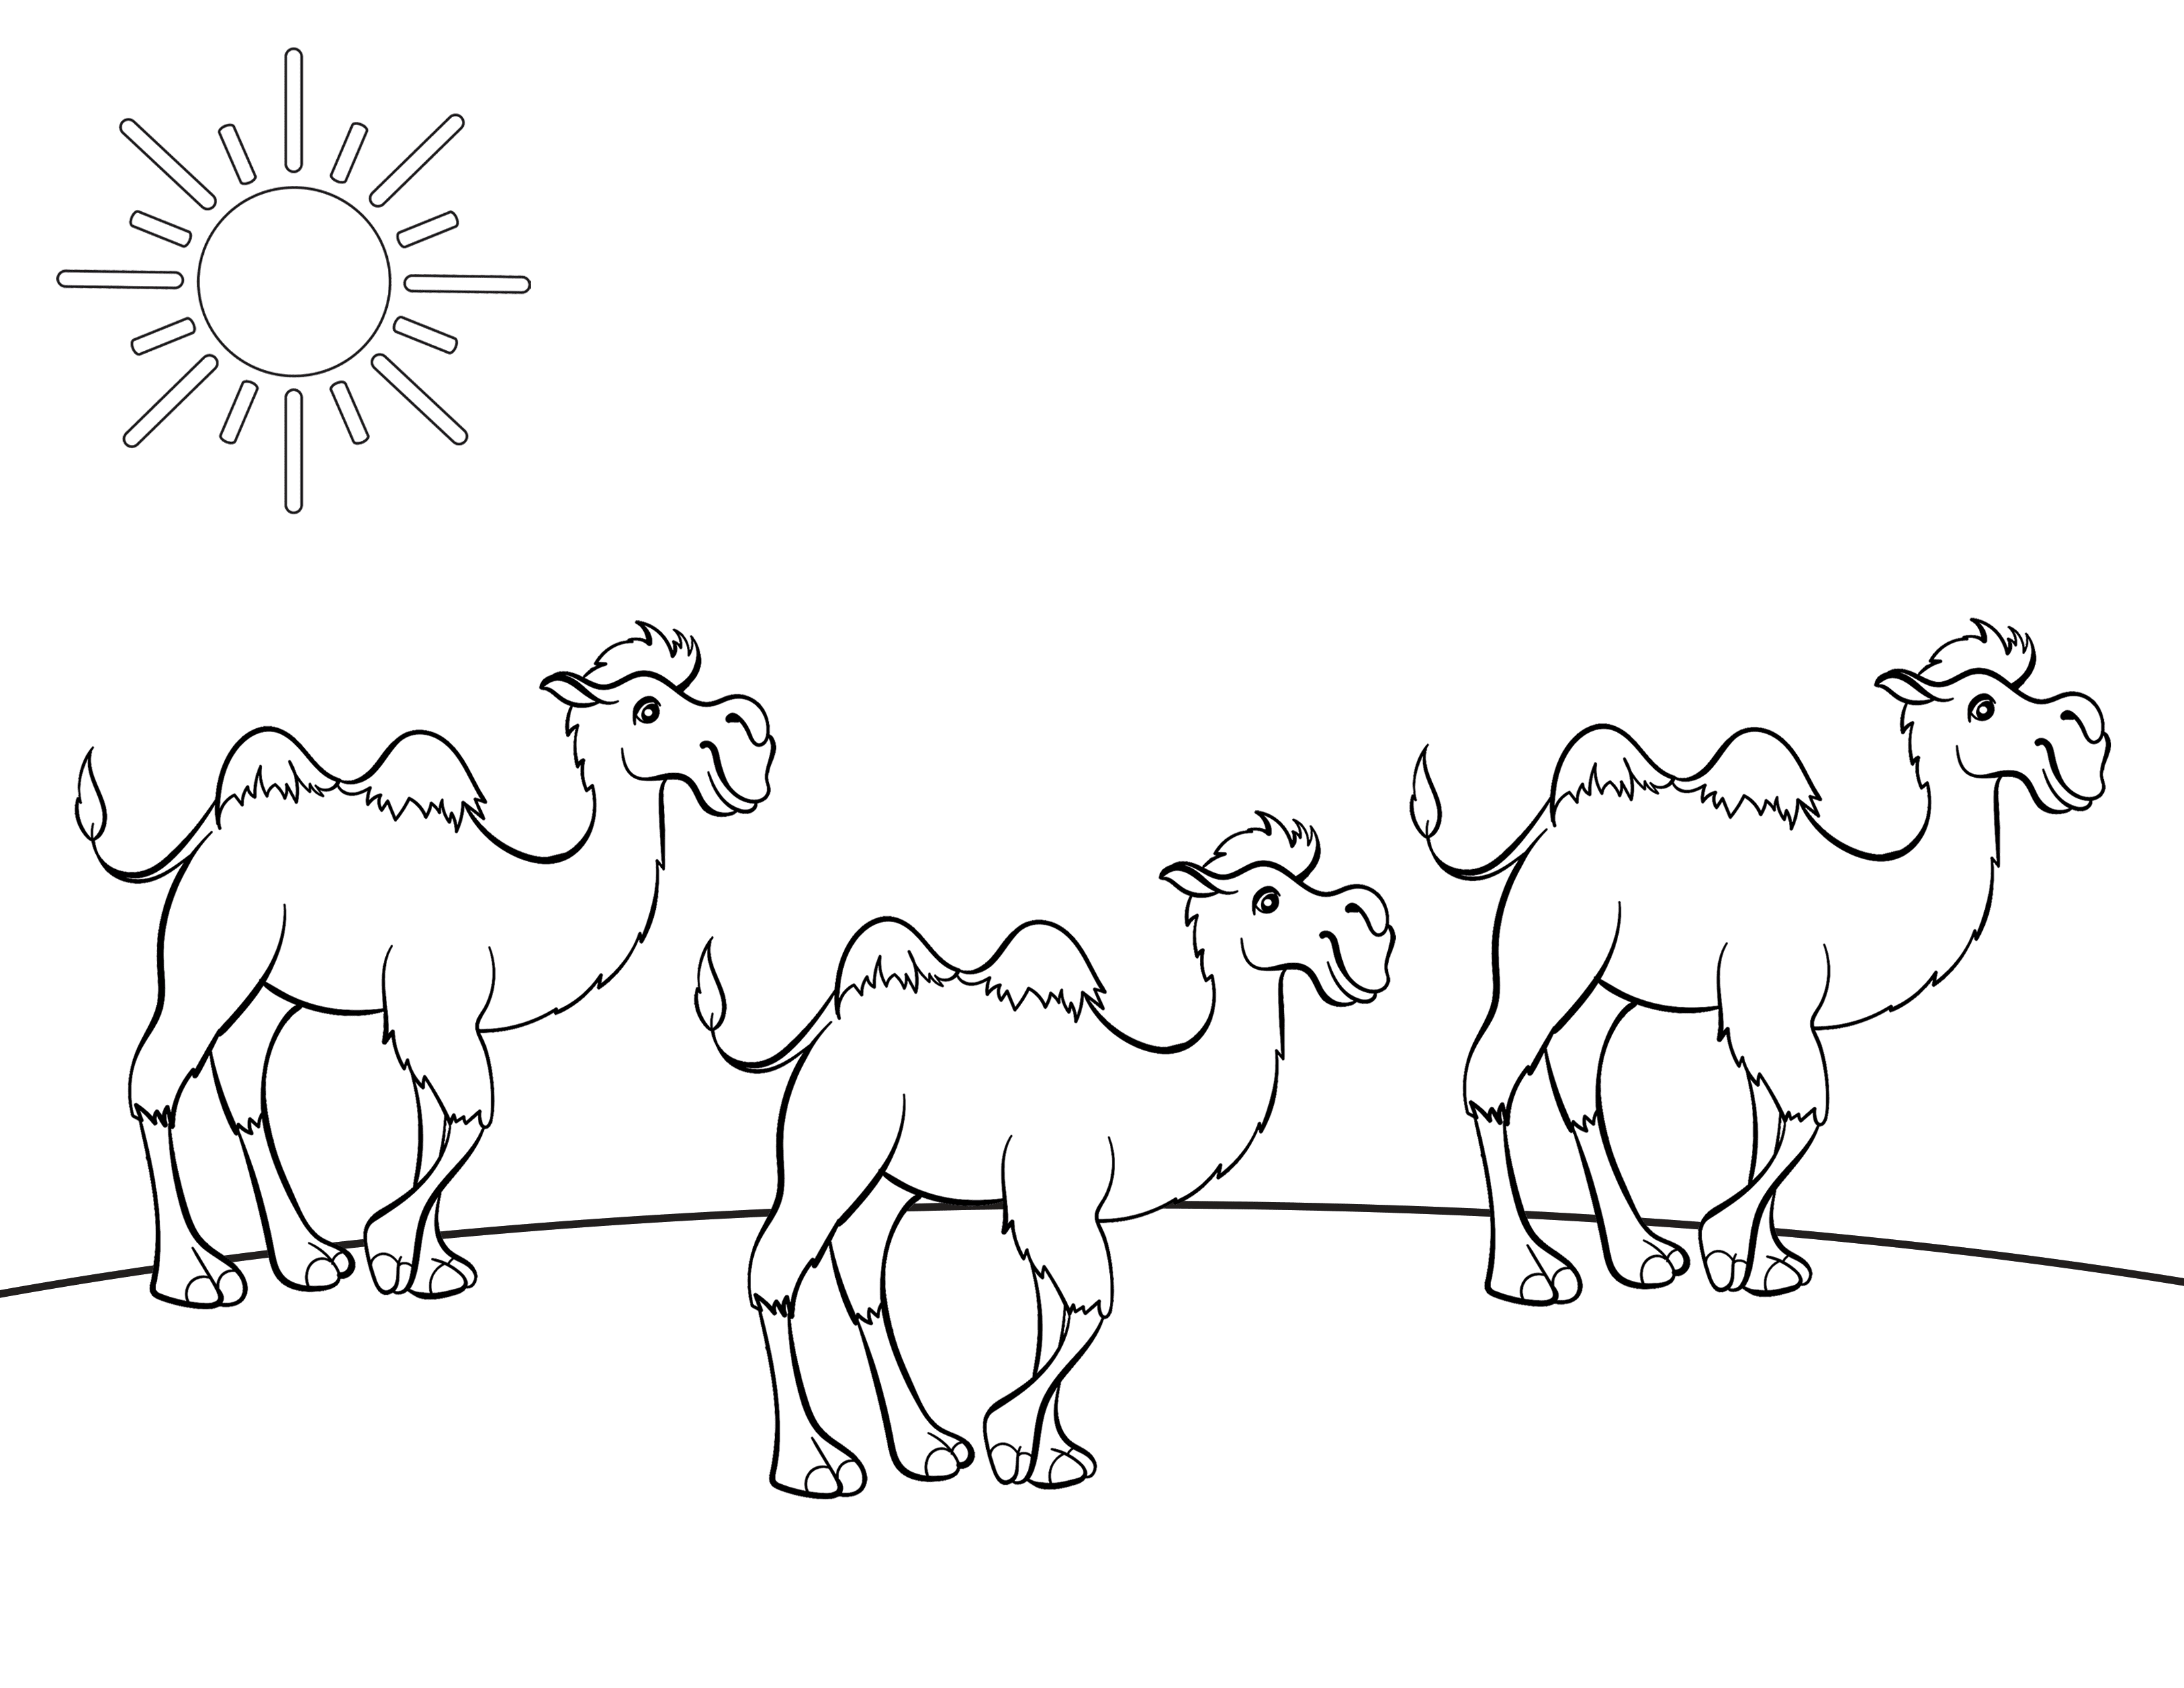
- Coloring sheet ( attachment )
- Coloring pencils
- Three felts in different shades of brown
- Black felt
- Scissors
- Glue
- DIY jewelry
- Construction paper
Steps
- Before class, print out one coloring paper per child.
- Have the children color the camels and then draw the Queen of Sheba on top of the first camel.
- Tell the children to leave a small space between the queen and the camel.
- Tell the children to cut out the first piece of felt in the shape of the first camel’s back and then glue it on this one.
- Ask them to cut out the second felt in the shape of the back of the second camel and glue it on the back of this one.
- Tell them to then cut out the last piece of felt in the shape of the last camel and stick it on the camel’s back.
- Tell the children to cut a square out of the black felt and then cut a square hole in the black square.
- Ask the children to stick this square on their paper so that the queen the children have drawn can be seen through the square. This will be the queen’s carriage.
- Tell the children to glue jewelry on the last camel’s back.
- Have the children cut out vase shapes from construction paper and glue them to the back of the second camel. It represents spices. You can also write the name of the spices on the vases.
- Finally, tell the children to cut out rectangles from the construction paper and glue them to the first camel as other gifts from the queen to Solomon.
© 2026 District du Québec APDC - Brevet en instance